Creating Postman Tests for API Requests
- Test Lead
- Sep 23, 2023
- 2 min read

So you have an API that you are testing but hate having to manually check all of the content of the response body that is returned from the API. This can be a very tedious task! This article will teach you how to create tests for your API calls that will do all of the heavy lifting for you.
This is built off of the tutorial from https://www.guru99.com/postman-tutorial.html
A prerequisite for this is downloading Postman(free from https://www.postman.com/downloads/) and creating an account which is also free.
Creating a Get Request
GET REQUESTS
GET requests retrieve data from an API. No information is modified from GET calls, you will be receiving information that already exists.
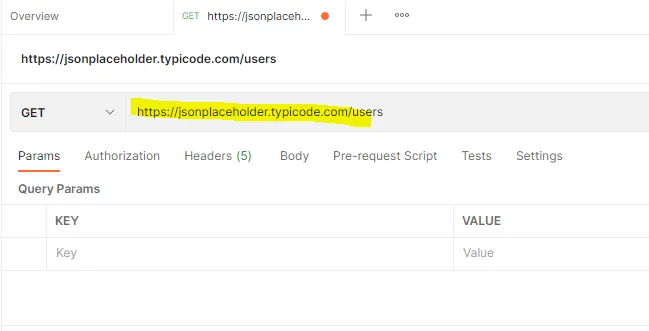
In the URL type in the following request https://jsonplaceholder.typicode.com/users , change the request method to GET and press the send button
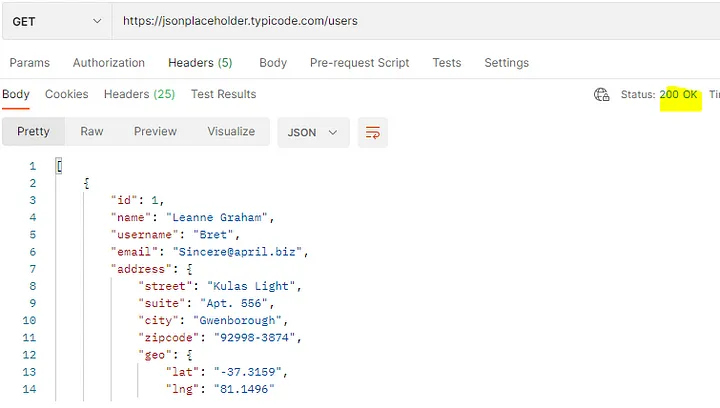
Now let’s take a look at the response we have. As you can see we have a 200 status code confirming our request was successful as well as several user objects. This is a lot of data to look through, so now let’s start making our tests.
Making a Test
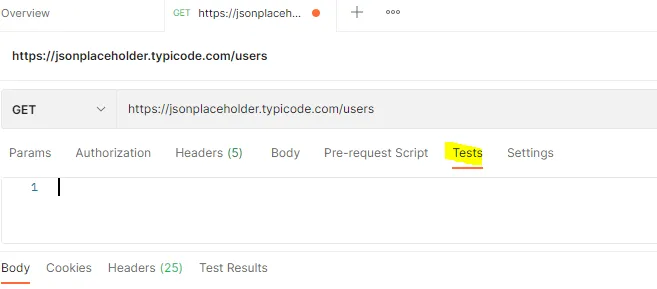
First, navigate to the test tab of the API request
Testing the Status Code
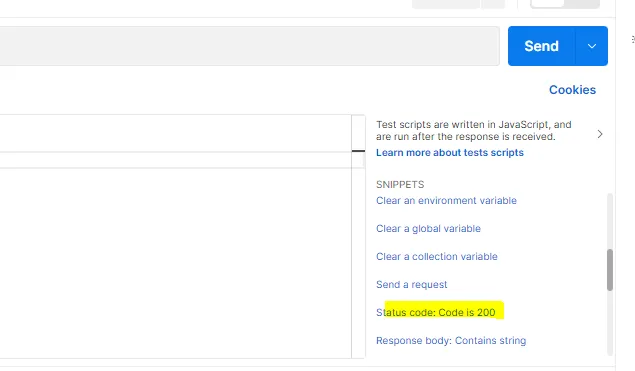
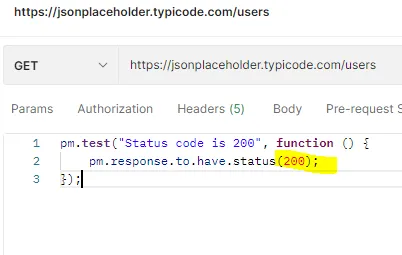
Navigate to the snippets section and select “Status code: Code is 200”. You should then have the below screenshot in your test body. The 200 can be any response code you want to check against. The “Status code is 200” will be displayed with the test results as well so leave a meaningful message to tell other users what this test is doing.
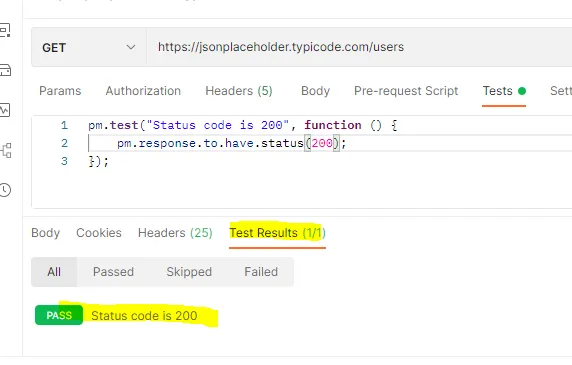
Now let’s send the request and view the results. As you can see the test passed.
But now let’s purposely fail our test so we can see how an unexpected response status code would appear. Change the test to expect 201 instead of 200 and press send.

Testing the Response Body
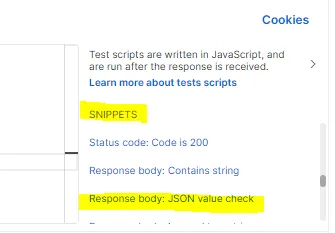
As you can see our test failed and states what we expected, status code 201, and what we actually got, status code 200. Now let’s go back to our snippets section and then copy something to validate the actual response body.
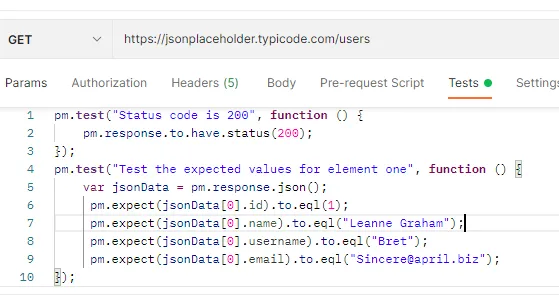
Out of the box, this second test is useless for us, so let’s change it to to test some of the values in the first user element. Paste the following code:
pm.test(“Test the expected values for element one”, function () {
var jsonData = pm.response.json();
pm.expect(jsonData[0].id).to.eql(1);
pm.expect(jsonData[0].name).to.eql(“Leanne Graham”);
pm.expect(jsonData[0].username).to.eql(“Bret”);
pm.expect(jsonData[0].email).to.eql(“Sincere@april.biz”);
});
Your new test should now look like this
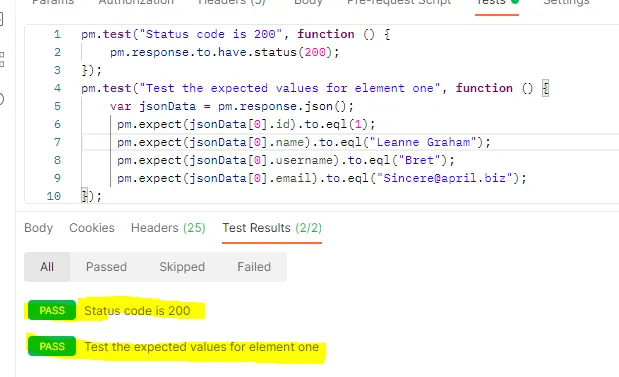
Now when we run it we see that both of our tests have passed.
You can modify this data to check any of the information returned in the response JSON. There is no limit to the number of tests that you can have so feel free to play with the other snippets that are provided and use those as a template to start other tests. You will still need to provide the test with the information for your specific instance.


Comments